Lab Time should be Happy Time for both teacher and students.
Often it isn't.
Here's how to give yourself every chance that your Labs will go smoothly and your students will learn something in an organized, non-chaotic environment.
Start with using COLOR. Yes, COLOR!
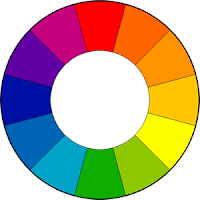
The VERY first thing I did when I started each new school year was tape colored squares of paper onto each desk. I cut out two inch squares of the following colors of Astrobright paper: pink, red, orange, yellow, green, blue, purple. I would always have two tables of each color, except red, which had three including the work table in the back of the room. This was for larger than usual classes.
When I assigned students to seats, they were by default being assigned to a COLOR TEAM. Since two students sat at each table, this made each team have four students, three in a smaller class.
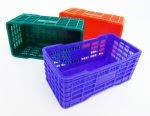
I had a stack of small plastic baskets. Each year I would also tape two-inch squares of colored paper inside these baskets. I would have two baskets with yellow squares, two baskets with blue squares, etc. Three baskets with red squares.
Each table would get their corresponding team color basket for a lab with the required materials inside.
Some of the advantages of this system:
- I could call one person from each color up to pick up their materials (and return them). I would just say, "Send one person when I call your Color Team ." So two people would come up each time I called a color. Easier than having 14 kids all come up at once. (Same for return of materials.)
- In a cramped classroom, having baskets of materials meant some labs could be done at desks, not at the lab stations around the perimeter of the room. Nice some days not to have to push all the desks toward the front to make room.
- I could aways tell who returned a messy basket and give them a chance to clean it up before they lost clean-up points off their lab rubric.
- The Color Teams worked together as a team for labs, some assignments, and Team Games. When I reassign students to new desks, they changed Color Teams, too. I kept track of all the Color Teams during the semester and tried to give my students as many new Team members each time as possible.

CONSIDER THIS: Set up Color Teams. Great classroom management tool!


